BlinkyBlink
Project Date - 11/2010
Originally done in November of 2010 as an "art" project, and the source of the header photo on each page. The city where I live does a downtown wide art exhibit on the first Friday of each month. Many businesses are open later and display the art of a featured artist.
My band decided to play a show in one of the member's living rooms and make our own stop for the art spectacle. Each member of the band created their own art piece and brought it to the show. Mine (pictured above without the cover), was intended to be something that blinked a lot, and didn't make sense otherwise. There's no hidden meaning or message behind the art, other than a chance to make some stuff blink.
Since this was done so long ago and I'm finally writing about it in March of 2014, some information may be missing. I'm going to try to fill out as completely as possible.
|
I used the following supplies, probably all sourced from Sparkfun.
I basically connected every available Arduino DIO, including the analogs, to an LED through a resistor for maximum brightness. Then wrote a simple sketch to blink all the LEDs in some random pattern. 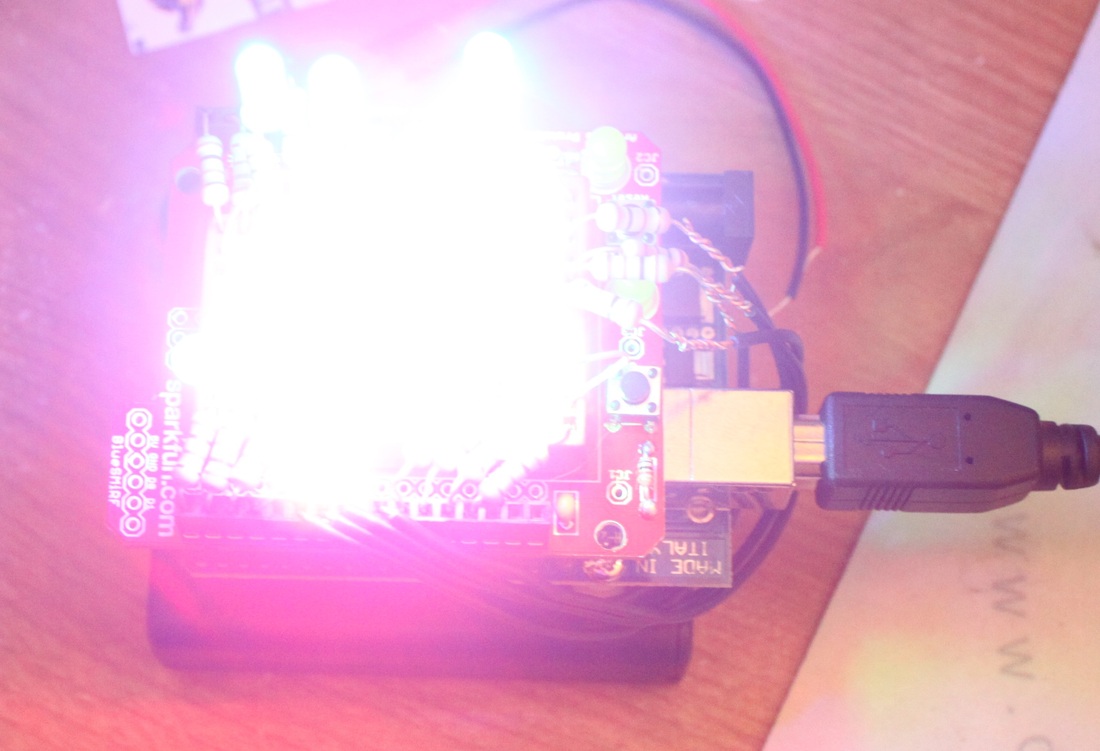
Those super bright LEDs are no joke. That's with all of them on.
|
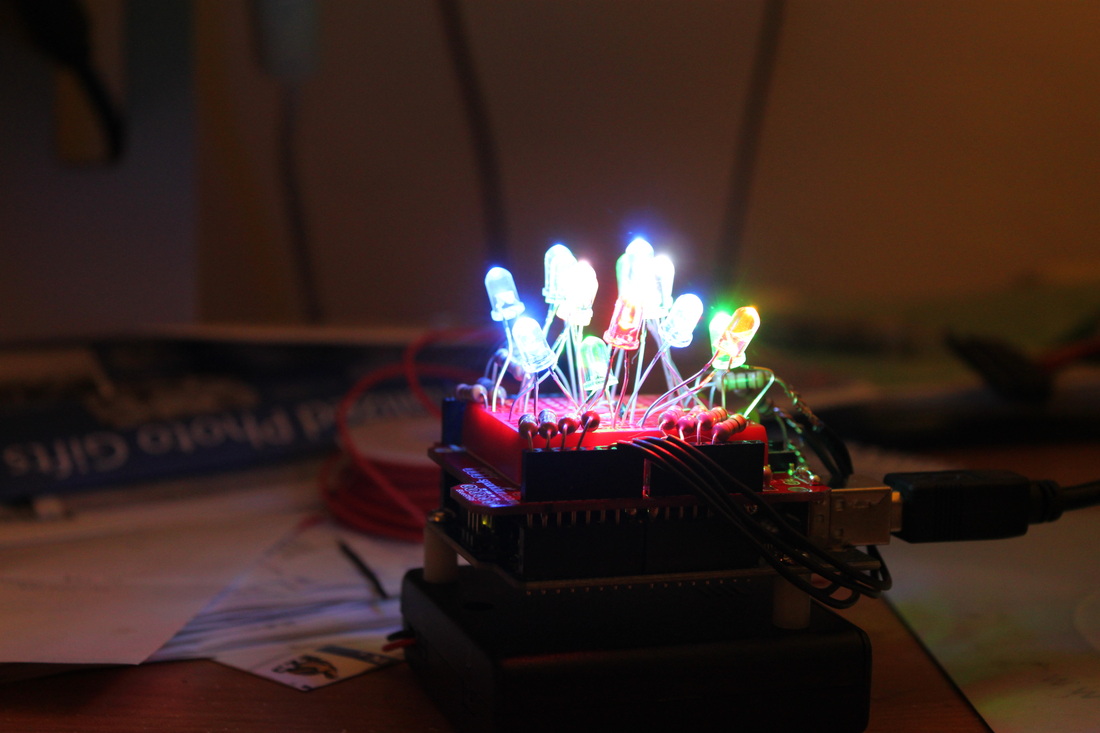
All the LEDs were arranged in the small breadboard.
Some of the resistors were in the breadboad, and some were twisted in line with the connecting wire. I didn't want to take the time to solder, so my wife suggested the twisting method she learned making necklaces in her youth. It proved to be effective and time saving. This was not done with durability in mind. It had to survive the card ride over, and that's about it. |

Here's a great tutorial on how to light an LED from an Arduino.
http://www.ladyada.net/learn/arduino/lesson3.html
Another one about LEDs in general.
http://learn.adafruit.com/all-about-leds
I basically did the same thing, but with every conceivable DIO port on the Arduino.
Pictured to the right is the finished product all jammed into a light fixture I found on sale at Lowe's.
Here's a video of the final product in action.
